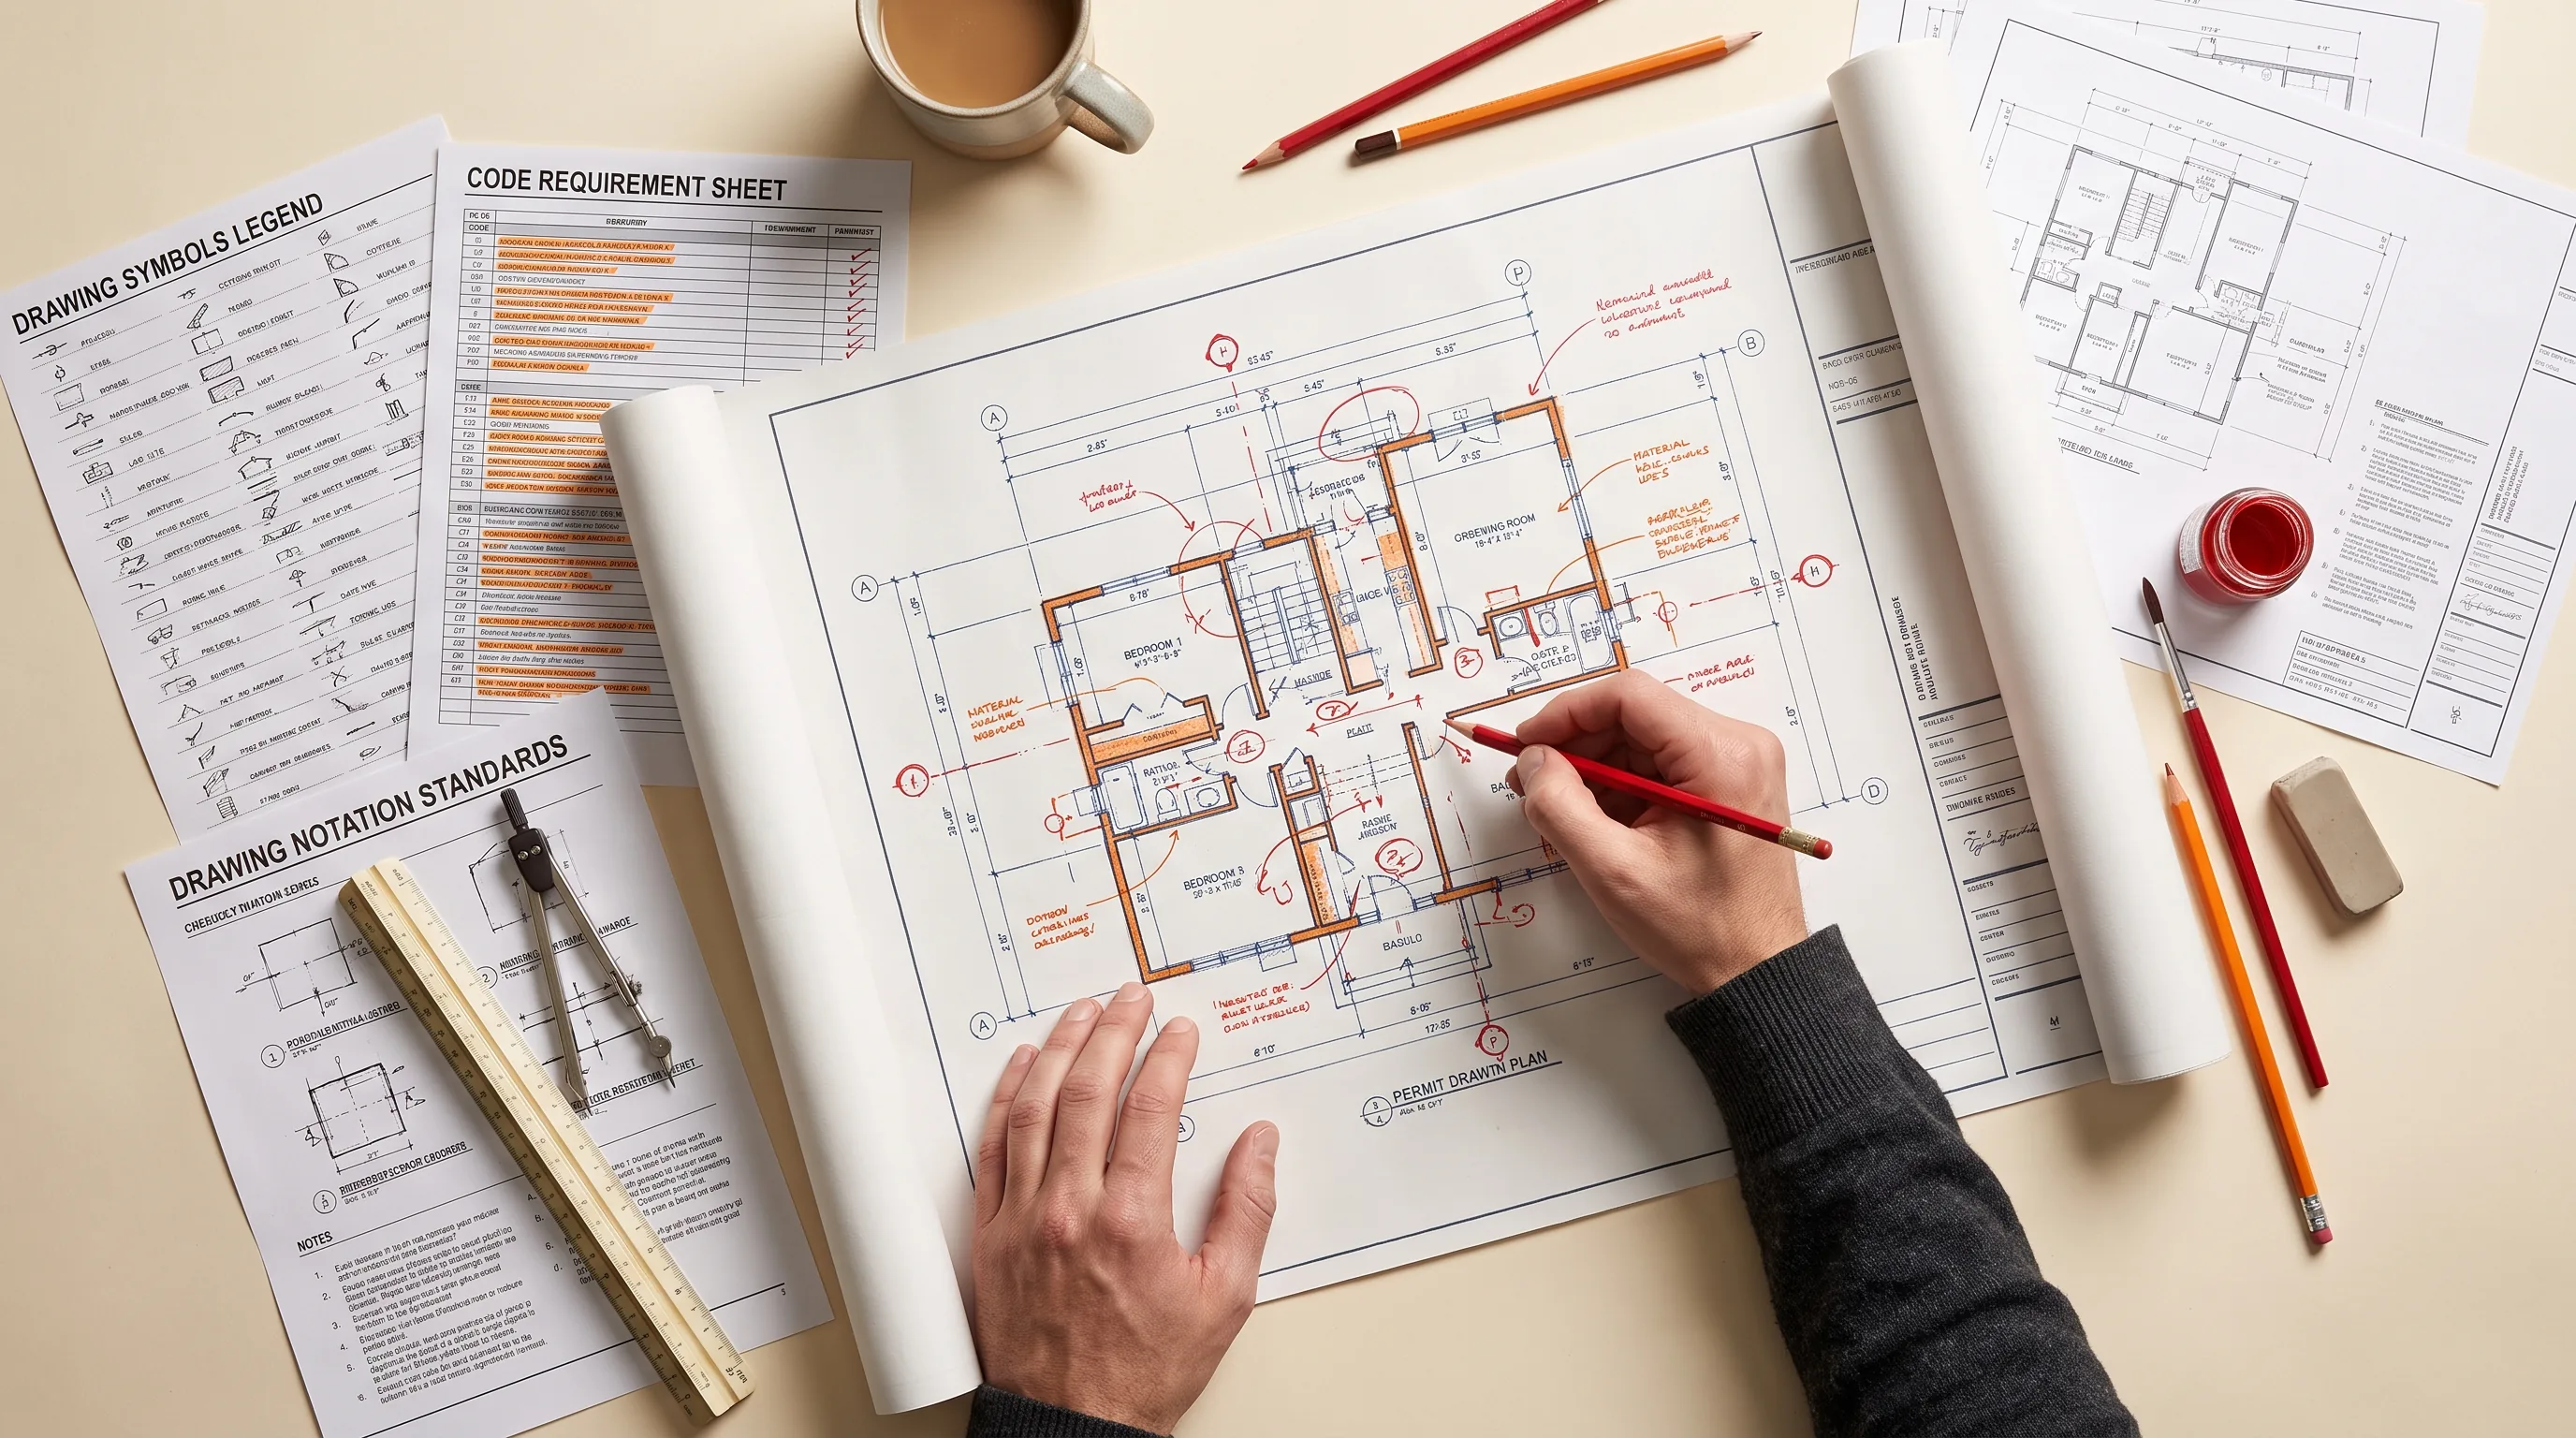
You're sitting at your kitchen table with 12 sheets of drawings spread out in front of you, and you have no idea where to start. You know what a site plan is. You know what an elevation is supposed to show. But actually looking at your specific drawings and figuring out if they're right, that's a different skill entirely, and nobody hands you instructions for it along with the drawings.
Here's the good news: reading a permit drawing set to verify it is really about checking three things. First, are all the required drawings actually present. Second, do they coordinate, does every drawing agree with every other drawing about the same building. Third, are they accurate, do the dimensions, heights, and details actually make sense. You don't need architectural training to check these three things. You need a system. Here's the walkthrough.
How to organize your drawing set before you start
A typical residential drawing set includes a cover page or title sheet, a site plan, two to four floor plans (existing and proposed), four elevations, one or two sections, various detail sheets, and depending on your project, electrical, plumbing, mechanical, or structural drawings.
Before you read anything closely, lay the full set out, physically if you have prints, or side by side digitally if you're working from a PDF. Count the sheets. Get a sense of the order. You want to know what you're working with before you start checking any single page in detail.
Step 1: Review the cover page
Check for the project name and address, confirm it matches your property. Check the architect or drafter's name and contact information. Check the date, which should be recent, not an outdated version from earlier in the design process. Look for a sheet list or index, telling you exactly what sheets should be included in the full set, this is your master checklist for confirming nothing's missing. Note the scale notation and confirm a north arrow is referenced.
This page confirms the set is actually yours and tells you what you should expect to find in the rest of it.
Step 2: Review the site plan
Look for: property boundaries forming a closed shape that roughly matches your deed, existing structures clearly labeled, the proposed structure clearly marked as "new" or "proposed," setback dimensions from the structure to each property line, a north arrow, utilities marked, easements labeled, and a scale bar.
Red flags: No setbacks dimensioned, you have no way to confirm code compliance. The proposed structure appears to sit too close to a property line. Easements aren't shown at all. No north arrow or scale bar.
Ask yourself: Do the property boundaries look roughly right compared to your deed? Does the placement of the new structure look reasonable? Do the setbacks look approximately in line with what your city requires? For the full breakdown of everything that belongs on this sheet, see What Is a Site Plan?
Step 3: Review the floor plans
You should see two floor plans for an addition or remodel, existing and proposed, both clearly labeled. Check that every room is labeled, every dimension is present, doors and windows are marked with their sizes, fixtures are shown where relevant, stairs are clearly indicated if present, door swing directions are shown, and a scale bar is included.
Red flags: The existing floor plan is missing entirely, the building department needs to see what's there now, not just what you're proposing. Rooms shown without dimensions. Windows or doors shown without size labels. Conflicting dimensions for the same room on different parts of the sheet. No scale bar.
Coordination check, starting here: Find a window on the floor plan. Note its width and which wall it's on. You'll check this same window against the elevation in Step 4, hold that detail in mind.
Below is an annotated example showing exactly where to look on a typical floor plan.
Step 4: Review the elevations
You should see four elevations, front, rear, left side, right side, each clearly labeled. Check that existing conditions are shown alongside proposed work (if it's an addition), heights are dimensioned, windows and doors are shown and labeled, materials are noted, the roofline is clear, a grade line (existing ground level) is shown, and a scale bar is present.
Red flags: Only three elevations instead of four. Height isn't dimensioned anywhere. The floor plan shows three windows on a wall but the matching elevation only shows two. The roofline looks disconnected from the existing house in a way that doesn't make visual sense. No material specifications at all.
Coordination check: Go back to that window you noted on the floor plan. Find the matching elevation, if it was on the south wall, go to the south elevation. Confirm the window actually appears there, and confirm the width matches. If it doesn't, that's an error, and it's exactly the kind of thing a plan checker catches immediately.
Ask yourself: Do the elevations match how you picture the finished building? Does the roof height look reasonable? Do the windows and doors line up with what you saw on the floor plan?
Step 5: Review the sections
You should see at least two sections, commonly one cut front-to-back and one cut side-to-side, each clearly labeled with a reference (something like "Section A-A") and a corresponding cut line marked on the floor plan showing exactly where that slice was taken. Check that floor-to-ceiling heights are dimensioned, roof structure is shown, foundation or slab detail is included, ceiling heights are labeled (commonly a minimum around 7'6" for habitable space), wall assembly and insulation are indicated, and a scale bar is present.
Red flags: The section reference line on the floor plan doesn't correspond to where the section is actually drawn. Ceiling height comes in below the minimum for habitable space. No foundation detail at all. Wall assembly isn't shown, leaving insulation and materials unclear. Heights aren't dimensioned anywhere on the sheet.
Technical check: Can you trace the cut line from the floor plan to the matching section and confirm the locations line up? Does the ceiling height shown look like a reasonable, buildable number for the space?
The coordination verification: the most important step
This is the step almost everyone skips, and it's the single biggest reason permit sets come back with corrections. Coordination means every drawing agrees with every other drawing about the same building, because they're all showing the same structure from different angles.
Floor plan to elevation. Find a window on the floor plan, say, a 3-foot-wide window on the south wall. Go to the south elevation. Confirm that window appears there, and confirm it's still 3 feet wide. If the elevation shows something different, that's an error that needs fixing before submission.
Floor plan to section. Find a room dimension on the floor plan, a bedroom shown as 12 feet wide. Find that same room represented on the section. Confirm the width is still 12 feet, and confirm the ceiling height shown makes sense for the space.
Dimension consistency across every sheet. If a wall is 30 feet long on the floor plan, is it still 30 feet where it shows up on the site plan? If a room is 12 feet deep on the floor plan, does the section reflect that same depth? Any mismatch is an inconsistency that a plan checker will flag.
For a visual showing how a single window has to remain consistent across three different drawing types, see Floor Plan, Site Plan, Elevation, Section: The Types of Drawings in Your Permit Set.
Checking for missing information
Even a well-coordinated set can still be incomplete. Check the door and window schedule, is there a table listing every opening, with a size for each one, and energy performance ratings if your jurisdiction requires them? Check for material specifications, roofing, siding, and window type, which may or may not be strictly required depending on your building department. If your project involves removing or modifying load-bearing walls, check that a structural header is shown and that structural connections are detailed, and if a stamp is required for your project type, confirm it's actually present. See Do Your Permit Drawings Need to Be Stamped? for how to know whether that applies to you. If your jurisdiction requires energy compliance documentation, confirm it exists, often as a separate form rather than something shown directly on the drawings.
Red flags: the quick-reference list
| Error type | What it looks like | Impact | How to fix |
|---|---|---|---|
| Dimensional error | Conflicting or missing dimensions between sheets | Plan checker can't verify compliance | Send back for a coordination revision |
| Coordination error | Window/door on one sheet doesn't match another | Rejected at plan check | Drafter re-coordinates and resubmits |
| Completeness error | Missing elevation, section, or schedule | Incomplete submission | Confirm against the sheet list, request missing sheet |
| Design error | Ceiling height below code minimum, undersized room | Code violation | May require redesign of that area |
| Compliance error | Setback violation, easement encroachment | Project not approvable as drawn | Redesign or variance request |
If you spot any of these before submission, ask for a revision. It's far cheaper and faster to fix now than to deal with an actual rejection from the building department later, see 7 Reasons Building Permits Get Rejected for what happens when these same issues aren't caught until plan check.
What you don't need to worry about
You don't need to verify exact structural calculations, that's the engineer's responsibility, not yours. You don't need to independently confirm precise energy code math, that's documented separately and checked by the relevant reviewer. Finish selections and color choices are optional detail, not something a plan checker cares about. And exact construction methodology is the builder's domain, not something the drawings need to spell out for your review.
What you do need to verify: dimensions match across every drawing they appear on, all necessary sheets and elements are present, setbacks and easements are respected, heights and room sizes look reasonable, and the overall design actually matches what you're trying to build.
The verification checklist
Use this before you submit anything to the city.
Site plan:
- Property boundaries match your deed
- Proposed structure placement makes sense
- Setbacks are dimensioned and appear to meet code
- Easements are shown and not encroached
- North arrow present
- Utilities shown
- Scale bar present
Floor plans:
- Both existing and proposed shown
- All rooms labeled
- All dimensions present
- Doors and windows marked with sizes
- Scale bar present
Elevations:
- All four elevations present (or all applicable sides)
- Heights dimensioned
- Windows and doors match the floor plan
- Materials specified
- Scale bar present
Sections:
- At least two sections shown
- Ceiling heights dimensioned
- Roof structure shown
- Heights make sense (7'6" minimum for habitable space)
- Scale bar present
Coordination:
- Every window on the floor plan appears on the matching elevation
- Every door on the floor plan appears on the matching elevation
- Dimensions match across all drawings
- Elevations match the floor plan layout
Completeness:
- All required sheets included, checked against the sheet list
- Door and window schedule present
- Notes and specifications present
- Drawings are legible and clear
If every box is checked, you're likely in good shape to submit. If anything's unchecked, that's your list for the drafter or architect before you move forward.
What to do if you spot errors
Small errors, a missing scale bar, a dimension that needs clarifying, go back to your drafter or architect with exactly what needs fixing. This is usually a fast turnaround, commonly a few days.
Medium errors, conflicting dimensions between sheets, a room missing its size, require real re-coordination work, since the drafter needs to trace the issue across every affected sheet. Commonly a week or two.
Large errors, a setback violation, a significant design flaw, may require a genuine redesign or a variance request, and deserve a direct conversation with your drafter or architect about the realistic options. This can run several weeks or longer, depending on what's involved.
Whatever you do, don't submit drawings with a known error hoping the building department won't notice. They will. Fixing it before submission is always faster than a rejection and resubmittal cycle, see Plan Check Corrections: How to Respond and Get Approved Faster for what that process looks like if it comes to that.
FAQ
Can I understand architectural drawings without training?
Yes, for verification purposes. You don't need to be able to draft a set yourself to check it for coordination, completeness, and obvious red flags. This guide's checklist is built specifically so a non-professional can do a meaningful review.
What if I don't understand a symbol on the drawing?
Ask your drafter or architect directly, a good one will walk you through any specific symbol or notation without hesitation. There's no such thing as a bad question at this stage; misreading a symbol is far cheaper to fix than misunderstanding what got submitted.
How do I know if dimensions are accurate?
You're not verifying the underlying survey accuracy yourself, that's the surveyor's job. What you're checking is internal consistency: does the same dimension match everywhere it appears across the set, and does it look reasonable given what you know about your property and your goals.
What should I do if I find an error in my drawings?
Document exactly what you found and where, then send it back to your drafter or architect with specifics rather than a vague concern. The more precise you are, the faster the fix.
How long should I take to review drawings?
Budget real time, an hour or more for a straightforward addition, longer for anything complex. Rushing this step is exactly how errors make it to the building department instead of getting caught here.
What if I submit drawings with a small error?
Depending on the error, it may trigger a correction letter and a resubmittal cycle, adding real weeks to your timeline. Small errors are the cheapest and fastest to catch here, before submission, which is the entire point of this review.
Should I have someone else review my drawings?
It's a reasonable step, especially if this is your first time reading a drawing set or the project has real complexity. A second, experienced set of eyes catches things a first-time reviewer might miss.
Before you submit
Reading a permit drawing set isn't about mastering architectural drafting, it's about running a disciplined check for completeness, coordination, and accuracy before your set goes anywhere near the building department. The checklist above is built to be printed, saved, and used against your actual drawings, sheet by sheet.
If you'd rather have a professional catch anything you might miss, we review drawing sets for coordination and completeness before submission, a second set of experienced eyes, specifically looking for the errors that cause rejections. Send us your drawings and we'll give you a detailed review report. Start with permit drawing services.