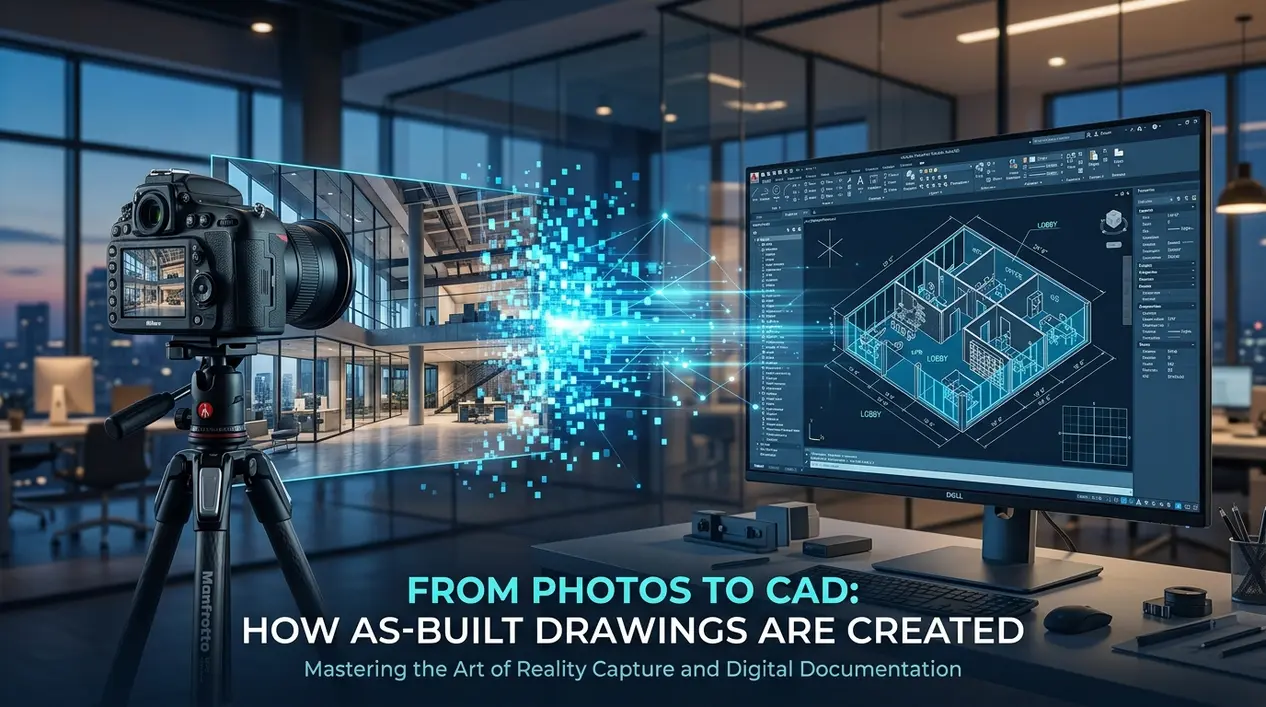
From Photos to CAD: How As-Built Drawings Are Created
You've hired someone to create as-built drawings, or you're seriously considering it, and there's a natural question sitting underneath the decision: what actually happens? Someone walks through your property with a camera and a measuring tool, and a couple weeks later you have a finished set of professional drawings. What's the actual work in between?
It's a fair thing to wonder, especially when you're paying for it. This isn't a black box, and it shouldn't feel like one, the process is systematic, repeatable, and genuinely explainable start to finish. Here's the full walkthrough: what happens during the site visit, how raw measurements and photos turn into finished CAD drawings, what quality checks happen along the way, and why the whole thing takes the time it does.
The short version: creating as-built drawings runs through six phases, intake and scope planning, field work (photography and measurement), office organization and review, CAD drawing production, quality checking, and final delivery. Field work typically takes one to three days depending on project size; the full process from first site visit to finished drawings in your hands usually runs one to three weeks. Every measurement gets verified, every drawing gets checked against the actual photos, and nothing goes out the door without at least one review pass. Here's what happens at each stage.
The Complete Workflow, at a Glance
1. Intake and planning, understanding what needs documenting and scoping the project 2. Field work, the on-site visit: photographs and measurements 3. Organization and review, back at the office, compiling and checking the raw data 4. Drawing creation, turning measurements and photos into finished CAD drawings 5. Quality check, reviewing everything against the source material before delivery 6. Delivery, handing over the finished drawings in usable formats
Field work generally takes one to three days on-site, depending on project size. Everything else, organization, drawing production, quality review, and delivery prep, typically adds another one to two weeks of office work. Total turnaround from first visit to finished drawings in hand usually lands somewhere between one and three weeks, scaling with how large and complex the project is.
Phase 1: Intake and Planning
Every project starts with a conversation, not a site visit. Before anyone shows up with a camera, there's a real discussion covering what was actually built, when it was completed, what specifically needs to be documented (the whole property, just one structure, interior only, systems included), any particular concerns worth flagging, and your timeline and budget expectations.
That conversation defines the scope: is this one building or several? Interior, exterior, or both? Do utilities and systems (electrical, plumbing, HVAC, gas) need documenting, or just the architectural layout? Are you documenting recently completed construction, or existing conditions on an older structure? What are the actual deliverables you want, photos and notes, or full measured drawings?
From there, cost and timeline get scoped roughly like this:
- Simple project (single building, minimal system complexity): typically $1,500–$2,000, about a week turnaround, one day of field work. - Medium project (an addition, an ADU, meaningful system documentation): typically $2,000–$3,000, one to two weeks, one to two days of field work. - Complex project (large property, multiple buildings, extensive systems): typically $3,000–$5,000+, two to three weeks, two to three days of field work.
A formal scope of work gets agreed on before anything else happens, what's being documented, the deliverables, cost, timeline, and what you as the property owner need to handle on your end (mainly access and any relevant background information). This upfront clarity is what keeps the rest of the process from having surprises later.
Phase 2: Field Work
This is the part most people picture when they think about as-builts, and it's genuinely the most hands-on stage.
Preparation. Before arriving, the drafter comes equipped with measuring tools (laser measure, tape measure, sometimes a measuring wheel for larger distances), a camera, a scope checklist, and a notebook. On your end, the main preparation is making sure the property is fully accessible, doors unlocked, gates open, and, if helpful, having your contractor available to answer any questions about specific systems or decisions made during construction.
Initial walkthrough. The drafter walks the entire space first before measuring anything in detail, getting a sense of the overall layout, identifying anything unusual, noting visible damage or wear, and taking initial wide-angle photos. This walkthrough is what shapes the most efficient measurement approach for the rest of the visit.
Systematic photography. From there, photography moves room by room and side by side, methodically rather than randomly. Exterior work covers each elevation from multiple angles, roof conditions where visible, and how the structure relates to adjacent buildings and the site generally. Interior work covers each room from wide angles, each wall, doorways and passages, built-ins and fixtures, and any notable damage or features. Systems and utilities, the electrical panel, water heater, HVAC equipment, and where utilities enter and exit the building, get their own dedicated photos, since this category tends to matter most for future reference. Detail shots capture anything worth a closer look: cracks, water stains, material finishes, specific connections. A typical project generates anywhere from 50 photos on a small job to several hundred on a larger, more complex one.
Systematic measurement. Measuring runs alongside the photography, using a combination of tools depending on the situation:
| Tool | Best For | Typical Accuracy |
|---|---|---|
| Laser measure | Room dimensions, ceiling heights, most standard distances | Roughly ± 1/8 inch |
| Tape measure | Close-up detail work, backup where laser isn't practical | Roughly ± 1/8 inch with care |
| Measuring wheel | Larger site distances, driveways, setbacks, property dimensions | Roughly ± 1 inch over long distances |
| Digital level | Checking whether surfaces are level or plumb, flagging settling or tilt | N/A, diagnostic, not dimensional |
The general approach is to establish a reference point, usually a building corner, and measure everything relative to that consistently, which keeps the whole set of measurements internally coherent rather than a collection of disconnected numbers. Simple rooms with no complex systems typically take 15–20 minutes to measure thoroughly; rooms with utilities or irregular layouts can take 30–45 minutes. A full project typically runs one to three days of field time depending on overall size and complexity.
Written observations alongside the measurements: material types (wall construction, flooring, roofing, siding), system details (panel size and capacity, water heater type, HVAC type), any visible damage or conditions, functional notes on what works and what doesn't, and, where relevant, how the finished construction differs from any original plans you can provide.
Before wrapping up, the drafter runs through the scope one more time to confirm every area's been covered, all measurements are taken, and nothing's been missed, catching gaps on-site is far more efficient than realizing something's missing once everyone's back at the office.
Phase 3: Organization and Review
Back off-site, the raw material from the field visit gets organized before any actual drawing work begins.
Photo organization. Every photo gets sorted by room or area, numbered and labeled descriptively, and reviewed for basic usability, flagging anything blurry or unclear that might need a follow-up question to the client, and confirming that photos actually show what was measured clearly enough to draft from.
Measurement compilation. This step includes a genuine accuracy check: do opposite walls match up the way they logically should? Do the numbers make sense against the photos taken of the same space? Anything that looks obviously off gets flagged rather than quietly entered into the drawings, better to catch a measurement error here than to discover it embedded in a finished drawing later.
Notes compilation. Written observations get organized alongside the photos and measurements by area, so everything relevant to a given room or system is grouped together rather than scattered across a raw notebook.
A review pass at this stage checks whether the whole scope is genuinely complete, every requested area covered, systems documented, nothing obviously missing, before moving into the drawing phase. If anything needs clarification, this is when the client typically gets a follow-up question, rather than the drafter guessing and potentially getting something wrong in the final drawings. This organizational phase typically takes a few hours on a simple project, scaling up to a full day or more on a larger, more complex one.
Phase 4: Drawing Creation
This is where the raw measurements and photographs actually become a finished drawing set, using professional CAD software.
Floor plans are built first: an outline established at the measured overall dimensions, walls drawn at their correct thickness and position, doors and windows placed at their exact measured locations, interior features and fixtures added, utility locations marked, and dimension lines added throughout so every measurement is clearly labeled on the finished sheet. Throughout this process, the drawing gets checked back against the photos regularly, does the layout actually look right compared to what the space really looks like? Any discrepancy gets caught and corrected before moving on.
Elevations, the exterior views, get built from the exterior measurements, roof pitch, and window/door placements, cross-referenced against the photos to make sure the finished elevation actually reflects the building's real appearance rather than just its raw dimensions.
Sections, where included, show cross-sections of the structure, ceiling heights, structural elements, and the relationship between floors and foundation, built from the relevant measurements and structural notes taken in the field.
Utility and systems documentation layers onto the floor plan base: the electrical panel and outlets, plumbing lines and fixtures, HVAC components, and gas connections where applicable, each placed at its measured location with supporting notes on capacity and specifications.
Final assembly brings everything together into a professional, organized drawing set: a title block with project details, scale indicators, a legend explaining any symbols used, organized layers, and formatting appropriate for both digital viewing and printing. A typical finished set includes a cover sheet, one or more floor plan sheets, elevation drawings, sections where relevant, and a utilities diagram.
Sheet counts scale with project size, a simple project might run three to five sheets total, a medium project five to ten, and a complex, multi-building property ten to fifteen or more. This phase is generally the most time-intensive part of the whole process, often running anywhere from roughly 8 hours on a simple project up to 40 hours or more on something genuinely complex.
Phase 5: Quality Check and Revision
Nothing goes to a client without at least one review pass, and often two.
Self-check. The drafter reviews their own work first: are all the measurements entered correctly, does the drawing genuinely match the photos, are dimensions all clearly labeled, is anything missing, does the formatting look professional? This catches the most common issues, a mistyped dimension, a door shown in the wrong spot, a missing label.
Independent review. A second reviewer, often a project lead or a second drafter, goes through the same checklist independently: accuracy against the original field notes, visual match against the photos, completeness across every requested area, and overall professional polish. This second set of eyes is what catches anything the original drafter, having stared at the same drawing for hours, might have missed.
Revisions. If anything gets flagged, a missing dimension, an incorrectly placed feature, a formatting inconsistency, it gets corrected and re-reviewed before moving forward. This is a normal, expected part of a careful process, not a sign anything went wrong.
Client review, where included in scope, gives you a chance to look over the drawings yourself before final delivery and flag anything that doesn't look right from your own knowledge of the property, a genuinely useful last check, since you know the space in ways no one else on the project does.
This phase typically takes an hour or two on a simple project, up to several hours on something more complex, a modest time investment relative to the value of catching an error before it's in your final delivered documents rather than after.
Phase 6: Delivery
Once everything's checked and finalized, the drawings get prepared and handed over.
CAD files are delivered in their native format, organized into clean, properly labeled layers, ready for any future professional to open and work from directly if you need further design or renovation work down the line.
PDF files are exported at high quality, formatted for easy viewing and printing, including both a master document and individual sheets if that's more useful for your purposes.
Printed sets, if you've requested them, come professionally printed at standard architectural sizes on quality paper.
A typical delivery package includes the organized CAD files, PDF versions, printed sets if ordered, the organized photo folder from the field visit, and a simple index explaining what each document contains. Delivery usually happens via a cloud drive link, though email or physical media both remain options depending on file size and your preference.
Along with the files themselves, you'll typically get basic guidance on how to view and print everything, a plain explanation of what each drawing shows, and an open door for follow-up questions, if something's unclear, or you need a different format down the line, that's a normal, expected part of the relationship rather than an inconvenience.
Quality Standards Throughout
A few standards run consistently through the whole process, regardless of project size:
Accuracy typically targets around ± 1/4 inch for general dimensions, tightening to roughly ± 1/8 inch in critical areas like doorways and utility locations, consistent throughout the document, not just accurate in the easy spots.
Completeness gets checked explicitly: every requested area documented, every utility located and marked, every dimension labeled, every material and system noted.
Professional presentation, clear formatting, proper title blocks and legends, high-quality output whether digital or printed, is treated as a baseline expectation, not an upgrade.
Error prevention happens through layered checks rather than relying on any single person catching everything: measurements get cross-verified against photos, drawings get compared against both photos and field notes, and an independent review happens before anything reaches you. The kinds of issues this catches, a missing dimension, a misplaced door, a typo in a measurement, are exactly the kind of small errors that are easy to make once and easy to catch with a second look, which is precisely why the review step exists.
Timeline Expectations by Project Size
| Project Size | Field Work | Office & Drawing Time | Total Typical Timeline |
|---|---|---|---|
| Simple (single building, minimal systems) | 1 day | Roughly 12–18 hours combined | 1.5–2 weeks |
| Medium (addition, ADU, real system complexity) | 1–2 days | Roughly 18–32 hours combined | 2–3 weeks |
| Complex (large property, multiple buildings) | 2–3 days | Roughly 32–60+ hours combined | 3–4 weeks |
What slows things down: larger, more complex properties with multiple buildings or extensive systems; slower client response times on clarifying questions; anything that surfaces mid-process requiring a follow-up site visit; extensive revision requests after initial delivery.
The honest reason this takes the time it does: rushing any of these phases is exactly how errors end up in a finished drawing set. The careful, methodical pace, measure once, verify, draw carefully, check twice, is what produces documentation you can actually rely on years later, rather than something that looked fine at a glance but turns out to be off in some detail that matters when you actually need it.
Tools and Technology
In the field: a laser measure (the primary tool for most measurements), a tape measure for detail work and backup, a measuring wheel for larger site distances, a professional camera, supplemental lighting where needed, and a digital level for checking plumb and level conditions.
Back at the office: professional CAD software (industry-standard programs are the norm), adequate computing hardware for detailed drafting work, photo organization tools, and a consistent file organization system.
The quality of the final drawings is genuinely tied to the quality of the tools and the discipline of the process behind them, a laser measure and a careful, systematic approach produce meaningfully more reliable documentation than a tape measure and a rushed afternoon.
Why Understanding This Process Matters
Knowing what actually happens between hiring someone and receiving finished drawings does a few concrete things for you as the client. It demystifies what you're paying for, the cost reflects real time and skilled work across field measurement, careful drawing production, and multiple quality checks, not an arbitrary fee. It sets realistic expectations for timeline, so a one-to-three-week turnaround doesn't feel like a delay when you understand what's happening during that time. And it makes for better collaboration, knowing what a drafter needs from you (property access, background information, quick answers to clarifying questions) helps the whole process move more smoothly on both sides.
Common Questions About the As-Built Process
How long does it take to create as-built drawings? Typically one to three weeks total, depending on project size, field work usually takes one to three days, with the remaining time spent on organization, drawing production, and quality review.
What actually happens during field work? Systematic photography and measurement of the entire scoped area, including rooms, systems, utilities, and exterior conditions, using tools like a laser measure for accuracy.
How accurate are the measurements? Generally within about a quarter inch for standard dimensions, tightening to about an eighth of an inch in critical areas like utility locations and doorway openings.
What tools are used to measure? Primarily a laser measure for most distances, with a tape measure for detail work and a measuring wheel for larger site dimensions.
How are photos actually used in creating the drawings? Photos serve as a visual cross-check throughout drawing production, confirming that the CAD drawing's layout, proportions, and details genuinely match what the space actually looks like, not just its raw measurements.
What quality checks happen before I receive anything? A self-check by the drafter, an independent review by a second person, and any necessary revisions, all completed before final delivery, with client review as an optional additional step.
What format will my as-built drawings come in? Typically both native CAD files and high-quality PDFs, with printed sets available if you request them.
Can I get revisions after delivery? Yes, if something needs adjustment or clarification after you've reviewed the final drawings, that's a normal part of the process, not an unusual request.
How much does this whole process cost? Generally $1,500–$5,000+ depending on project size and complexity, reflecting the actual time involved across field work, drawing production, and quality review.
Why does the process take as long as it does? Because rushing any stage, measurement, drawing, or review, is exactly how errors end up in a finished document. The pace reflects a careful, verified process rather than unnecessary delay.
---
Creating as-built drawings isn't a mysterious black box, it's a systematic, verifiable process, from the first walkthrough with a camera to a finished CAD drawing set checked against those same photos before it ever reaches you. Every phase exists for a reason, and understanding it should make the timeline and the cost make sense rather than feel arbitrary.
Cadtri follows exactly this process for every as-built project, careful field measurement, organized office work, CAD-drafted precision, and multiple quality checks before anything reaches you. If you're ready to get your property documented properly, that's a conversation worth having.
---
Related reading: [What Are As-Built Drawings?] · [When Do You Need As-Built Drawings?] · Document Existing Conditions Before Your Renovation · As-Built vs. Record Drawings vs. Survey · Permit Drawing Services · As-Built Documentation Services